WireGuard has been around for almost a decade, providing everyone a better way to set up a private VPN network at home using a UDP tunnel system. Although different technologies like OpenVPN were used before, WireGuard proved to be better and more efficient while implementing private VPN tunnels.
Based on the WireGuard protocol, new technologies emerged named Tailscale, Headscale, and Twingate and there might be more that provide the Zero Trust Tunnel services. These services make it even easier to set up a private VPN tunnel to your home network and allow access to it remotely using different devices. In some cases, like cell phones, these new services prove to be even easier to handle and manage devices.
Tailscale/Twingate
Tailscale is the most renowned of all these applications, due to its reliability, availability, and ease of access. The free tier of this platform allows 3 users after that you have to choose between one of the paid plans. Tailscale also has a good number of users and community help on most of the social platforms. You can easily get help on most of the Reddit pages if you encounter any issues. The setup is more or less similar on both of these platforms. We went with Twingate as we needed more than 3 users and Twingate had an option of free tier for 5 users.
Step 1
Sign up on the Twingate website using your email, and the purpose for which you will be using this service. On the second screen, select the correct use case. On the Next page, create a unique network name for your network, which you will be using for all future reference and remote access to the network.
Step 2 – creating a network
Login again on the website with all the details you just created, then under
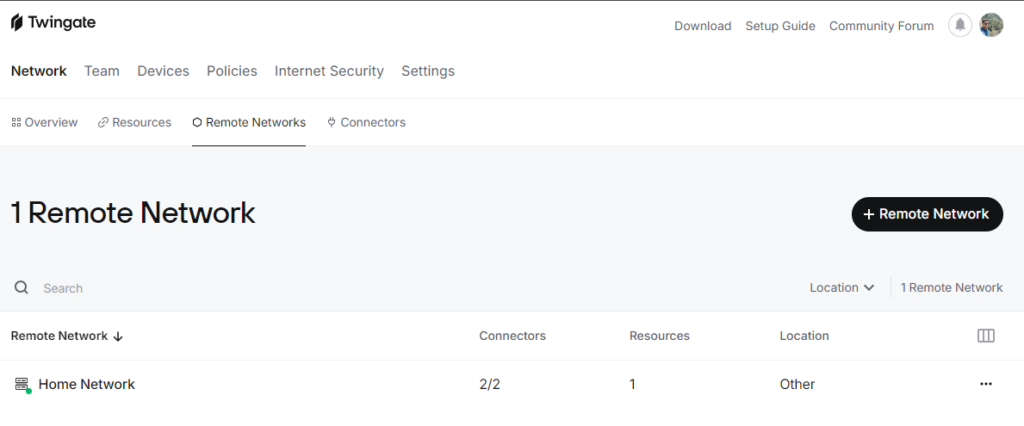
Network > Remote Networks > + Remote Network
Add a new network with a unique name, and after that, a new network will be created for you with 2 connectors.

Step 3 – Deploying the connectors
The connectors could be deployed in multiple ways, if you want to you can directly install the twingate application for connectors, you can select the operating system, or the supported cloud services have their own methods to deploy connectors. I went with docker because I personally prefer to docker containers over LXC or give access to the operating system resources directly. Though these connectors are lightweight, I would recommend using docker if you already have docker installed. I used the following docker-compose.yml
version: "3.8"

name: twingate

services:
  twingate-connector-1:
    container_name: [ConnectorName]
    image: twingate/connector:latest
    restart: unless-stopped
    environment:
      - TWINGATE_NETWORK=[NetworkName]
      - TWINGATE_ACCESS_TOKEN=[AccessToken]
      - TWINGATE_REFRESH_TOKEN=[RefreshToken]
      - TWINGATE_LABEL_HOSTNAME="`hostname`"
      - TWINGATE_LABEL_DEPLOYED_BY="docker"
    sysctls:
      net.ipv4.ping_group_range: "0 2147483647"
    network_mode: bridge

  twingate-connector-2:
    container_name: [ConnectorName]
    image: twingate/connector:latest
    restart: unless-stopped
    environment:
      - TWINGATE_NETWORK=[NetworkName]
      - TWINGATE_ACCESS_TOKEN=[AccessToken]
      - TWINGATE_REFRESH_TOKEN=[RefreshToken]
      - TWINGATE_LABEL_HOSTNAME="`hostname`"
      - TWINGATE_LABEL_DEPLOYED_BY="docker"
    sysctls:
      net.ipv4.ping_group_range: "0 2147483647"
    network_mode: bridge
Replace the following values in the above docker-compose
- container_name: [ConnectorName] #Connector name from Twingate.
- TWINGATE_NETWORK=[NetworkName] #Network name that you initially gave.
- TWINGATE_ACCESS_TOKEN=[AccessToken] #Access Token for the respective connector.
- TWINGATE_REFRESH_TOKEN=[RefreshToken] #Refresh Token for the respective connector.
I would recommend taking a look at the network_mode setting to make sure you get an IP for each connector that all devices that you want to connect to.
Step 4 – Adding resources
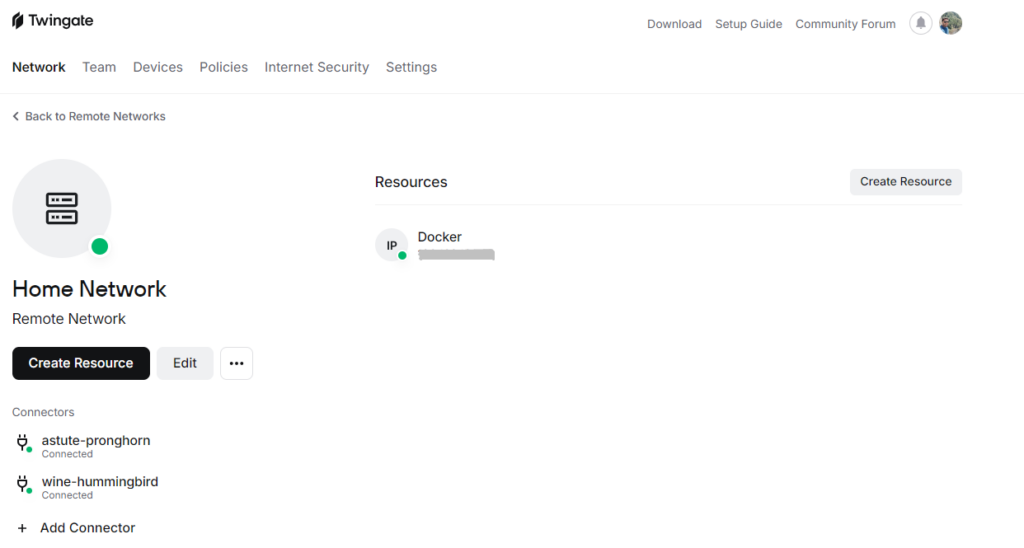
Once the connector has been deployed, go inside the network and start adding resources that you want to have access to. All these resources will be available from outside the network when you connect via VPN.

Step 5 – Connecting from other devices
After that, you just need to install the app on all the devices you need to give access to, install the VPN client, and log in from it to connect to the VPN. These services also contain a relay which makes sure that only requests made for your local network go through it.
You can also view which user made a request to which resource in the logs and if those have been successful. The request fails if you lose an internet connection to the connectors, but automatically gets back when the internet gets back up.
Headscale:
Headscale is the open-source implementation of Tailscale/Twingate so, you will be kind of hosting your own co-ordinator. That simply being solely responsible for the security and hosting of tunnels. Although this ensures more privacy, but have to really stay on top of the security updates. We might do a different write-up in the future about it.
This is one of the secure ways to access your network remotely as this does not make anything public from the local network, also you don’t have to open any ports on your router or anything. The only problem with this approach is you have to have a VPN client installed on all the devices that need to connect to this network, which might be a problem if all your users are not tech-savvy and remotely based.
There is another solution if you want to make certain services available over the web, like hosting a website for easy remote access, you can read more about it here.
4 thoughts on “HowTo: Access your self-hosted applications in Secure Network”