Linux family has the there for years now providing a stable open-source operating systems with all it’s different flavors and fragrances. The family has many well-known operating systems under it’s belt like Debian, Ubuntu, Fedora, Arch along with Android in recent years. All these together comprise of the highest used operating systems on this plant. The most famous of these is the Debian operating system known for it’s stability and performance on desktops as well as servers. The self-hosting community has been praising the latest release of the Debian for all the newer builds and stability. Let’s try installing it today.
Downloading
Debian allows downloading the operating system in various ways from it’s official website. It has ISO files available for internet install to offline installations on it’s website along with different versions for cloud or virtual machines and a way to just test the operating system without installing it. You can check out all the available download types on it’s distribution page. It does not have a server version by itself like Ubuntu offers but this is managed by the installation process itself.
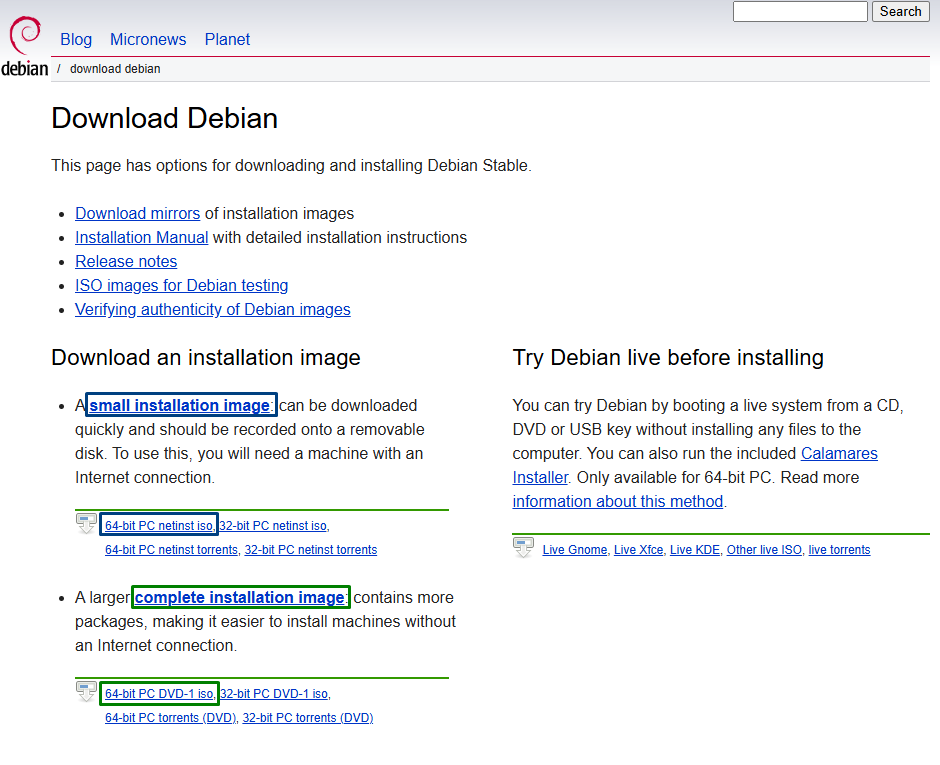
By default Debian allows you to download the net-installer (marked in blue) ISO from it’s website which is a small file to download, installs the core operating system and downloads the chosen optional packages from online repository. This is great if you have a stable internet connection but if not, you can download the full ISO file for offline installation (marked in green) as well which is around 3GB to 4GB. These installers are also based on your system, so if you have a 64-bit hardware, you can use 64-bit operating system, if you have 32-bit operating system, you can use 32-bit operating system.
After downloading the desired ISO file, it’s time to create a bootable USB drive for the installation. You can use balenaEtcher to easily create a bootable ISO (download here). Rufus is another well known application for more advanced users (download here).
Installation
Once you are ready with a bootable USB drive, the first step to start installation is to enter the BIOS system and change the boot device sequence. Now how to enter BIOS depends on motherboard that your machine has, most of them make you press F12 or Delete button at boot. After that, you can change the boot sequence just for one time or on older computer you might have to change it back after installation is done.
Once you have change the boot device to USB stick, the system should boot normally and you will end up at the following screen:

On this screen as you can see there are two options to install, not much of a difference in the installation process, but just how the UI/UX will look during the installation process. Here, we are providing the fancy side, but you can always go the with the dark version.
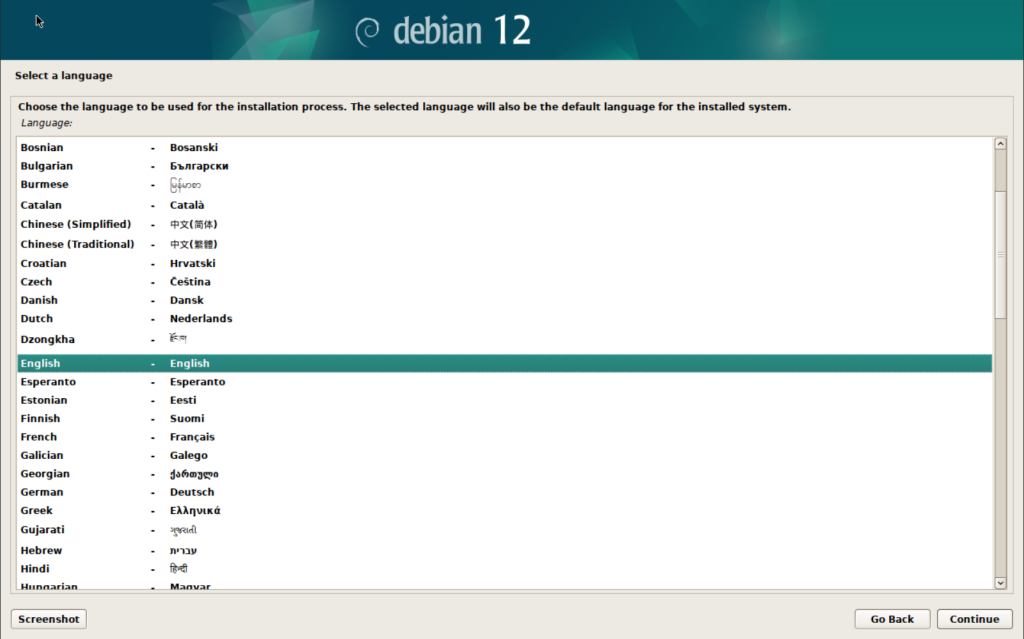
The very first thing you get to choose while installation is the language, the default for the installation as well as the operating system settings.

The second screen allows you to select the location, this list based on what language you selected, so don’t worry if you can’t see your country name in the screenshot above. Make sure to select the correct country here as the time zone list presented to you later during installation is based on the country you selected here and selecting right one here means not having to come back to this screen later.
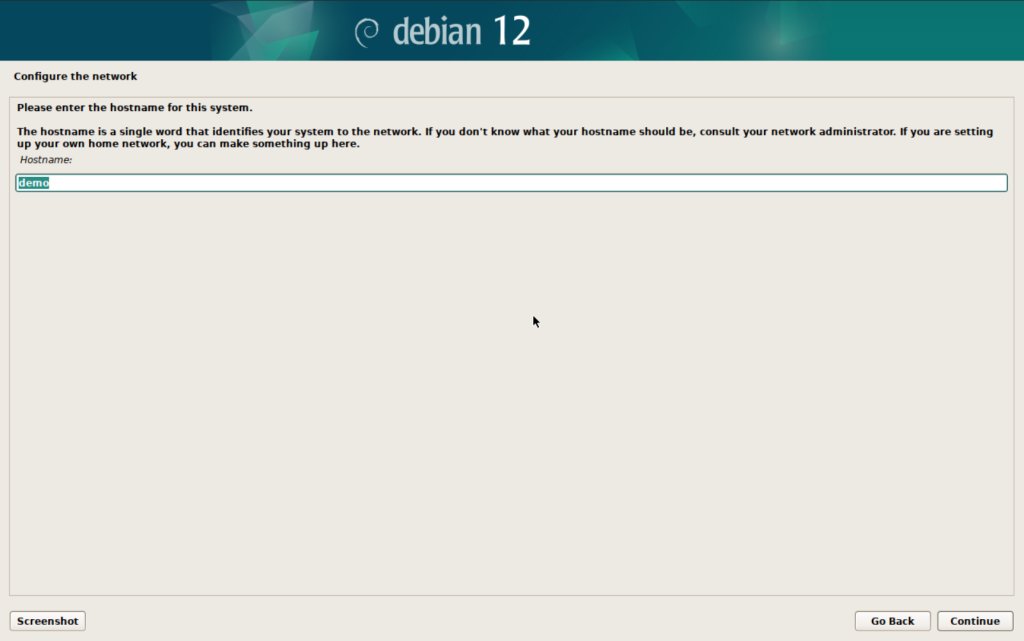
This screen allows you to configure the domain name for the device to be used in the local network, you can enter any name there for a standalone system but it’s good to have some format for naming systems on the network so you can organize everything properly later. We recommend entering the company name if this is a business system or family name is also a good idea if this is a home computer.
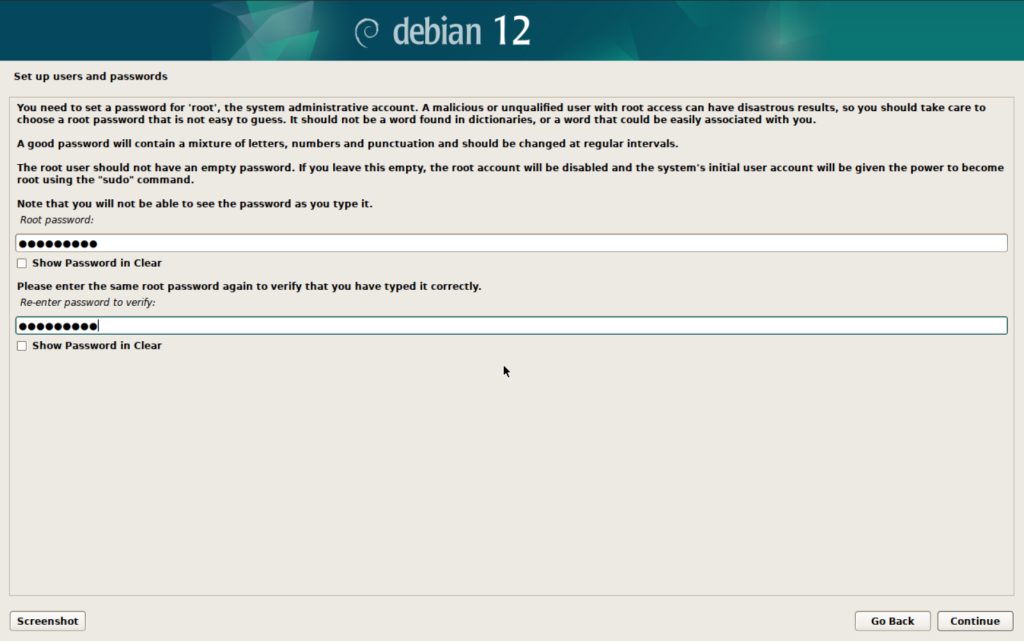
This screen allows you to set password for the root account, make sure you put a secure password here and remember it as it will be required every time you want to make system level changes. This also includes installing/uninstalling the any applications.

This screen will ask you to create a user who will be operating the system. This should be your username under ideal user conditions. This will allow you to create just 1 user, you can create more user later once the installation is done.
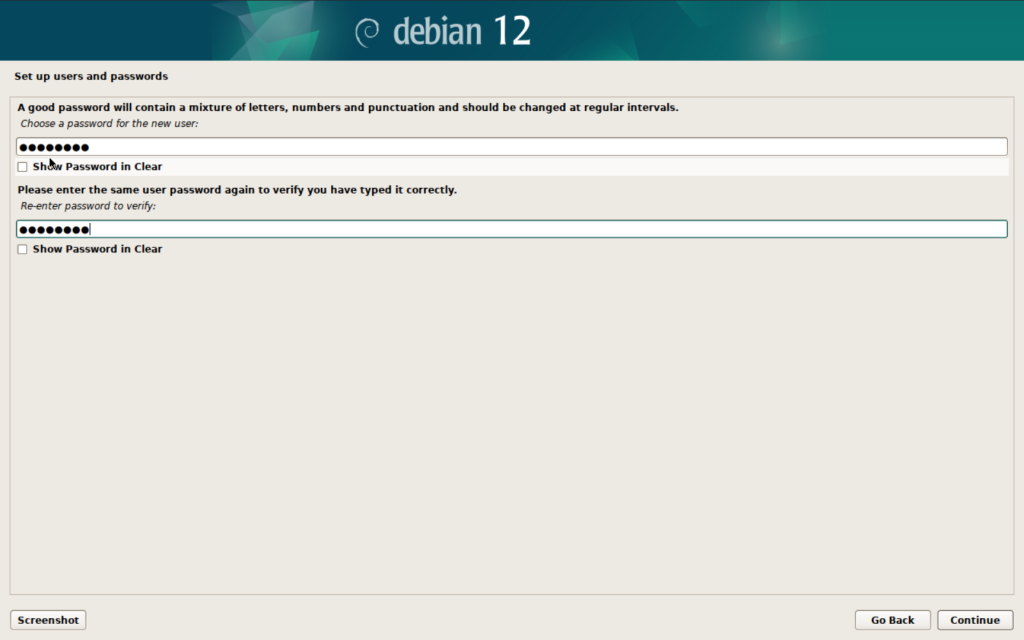
This is password for the above create user, keep it simple and easy to remember you as you will have to enter it each time you login.
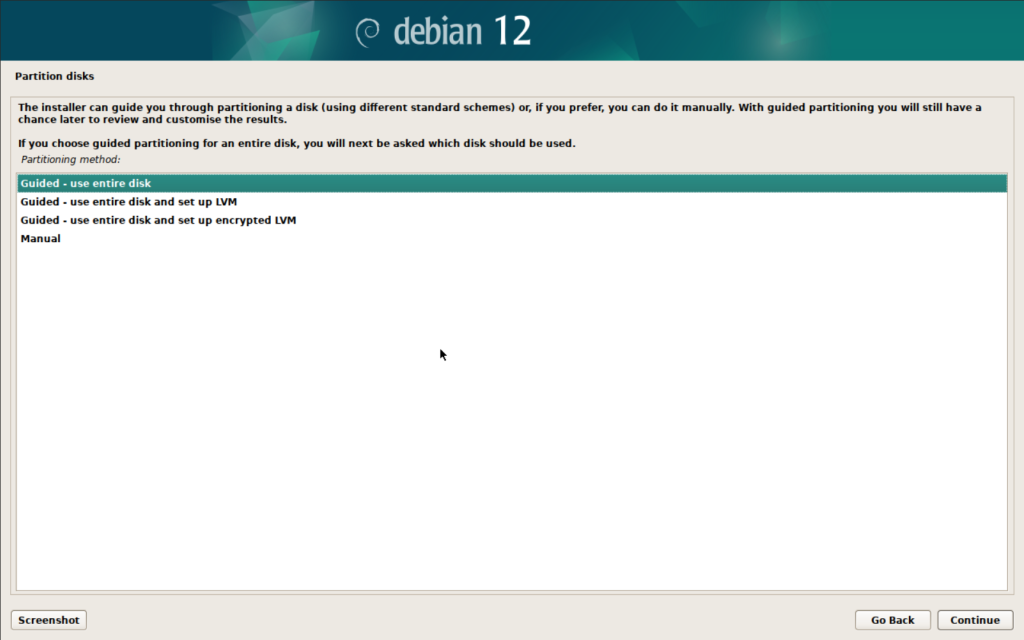
After the root and user details are entered, it’s time to decide how you want the hard drive to be partitioned. For beginners, it’s usually recommended to use the whole hard drive, but you can create partition for the operating system here.
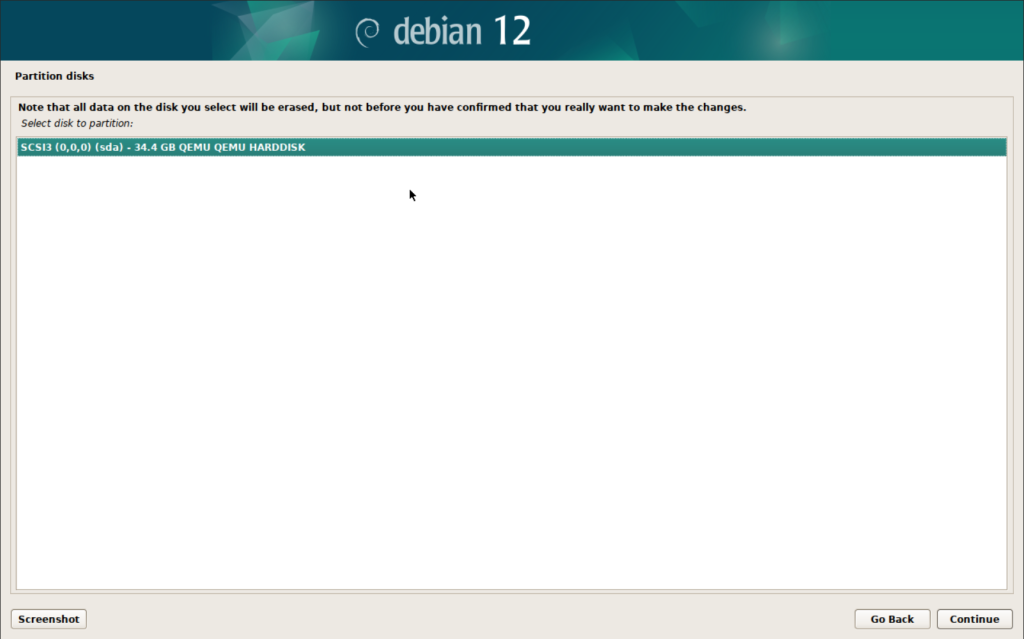
Here you choose which hard drive to install the operating system on. If you have multiple hard drives attached to the computer, you will be able to see them here. Make sure to choose the right one as all the contents of the hard drive will be cleaned off because of the previous selection.
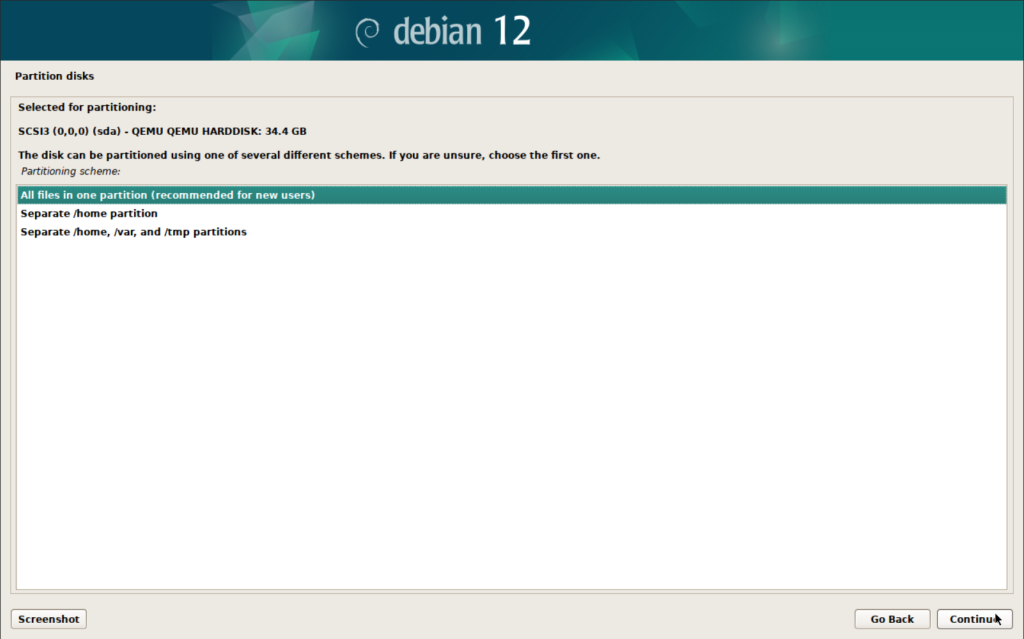
At this screen you get to choose how you want the Operating System to be installed, you can have a single partition for all the files, or you can have different for just the user files (Separate /home directory) or you can also have user files and some applications (ex, docker uses /var) on separate operating system. Again, we recommend having single partition if you are a beginner. To learn more about the Linux System Folder Structure, you can read our article here, then decide.
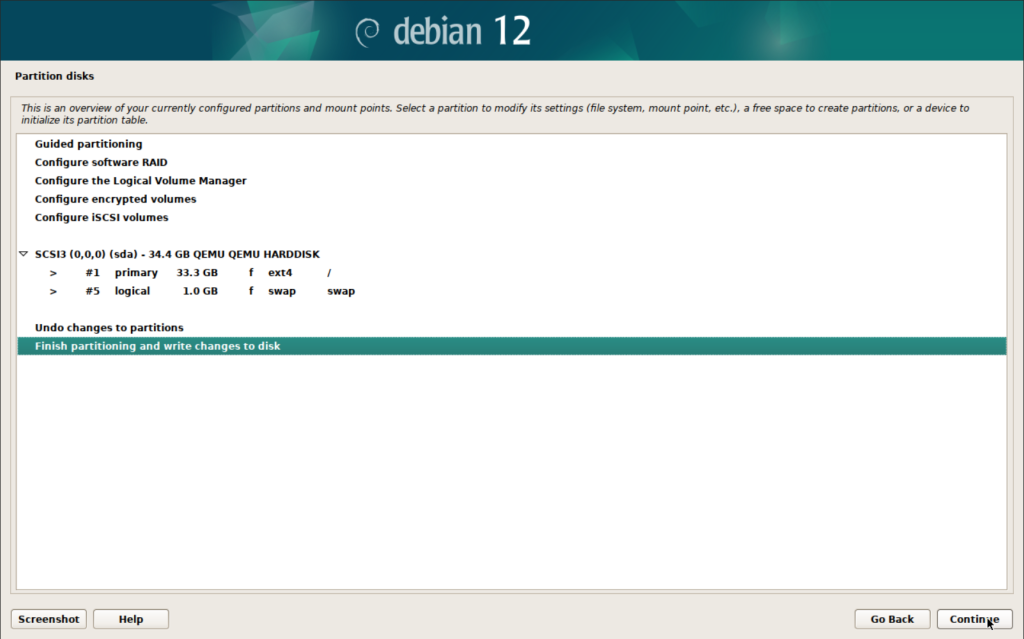
Once all the selections are done, the installer shows all the details and just to make sure that it’s correct. You can go back to any step at this point to make the desired changes.
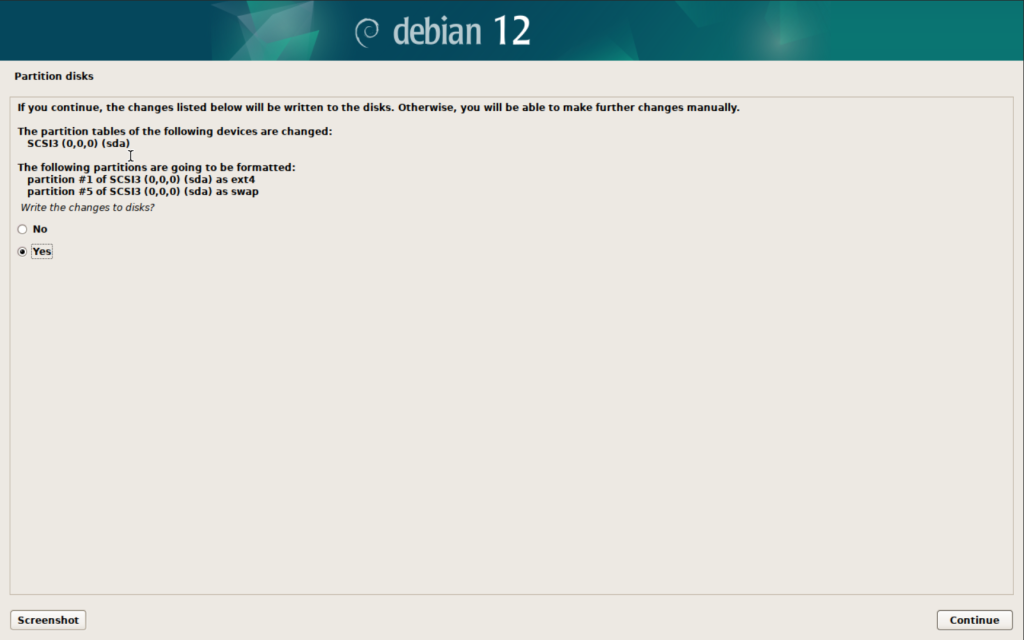
Once you are satisfied with your selection, just make sure you are ready to lose the data on the hard drive as there is no going back from here. Once you click yes, the hard drive will be partitioned and the operating system will start installing.
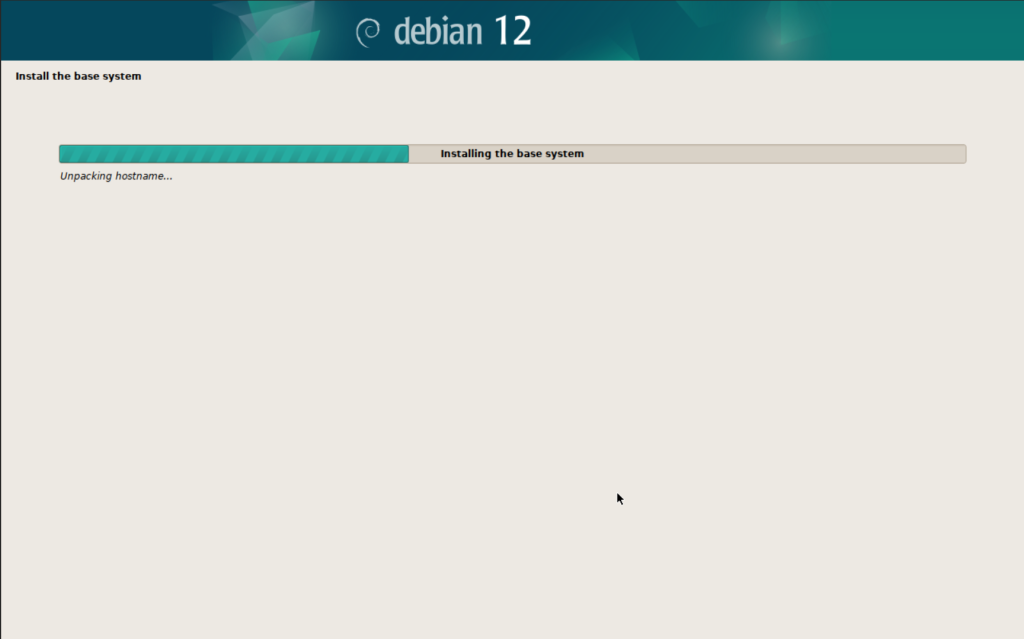
No matter which ISO you have used, it contains the basic operating system which will start installing at this point. you can refill your coffee at this point.
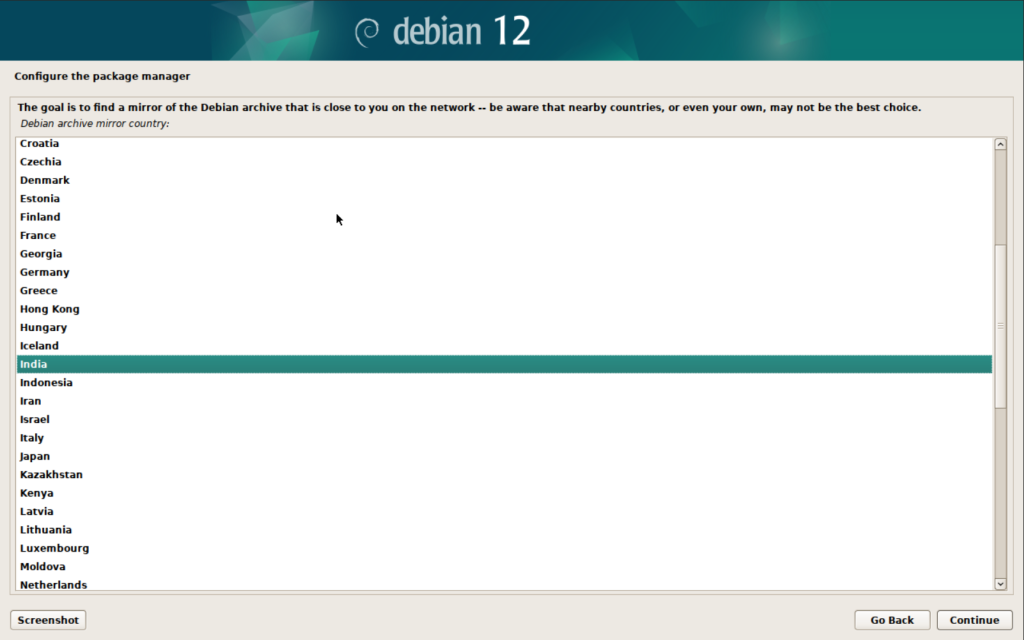
Select the location of your nearest server for the further installation, if it’s a full installation ISO, this might not be required immediately, but it’s a good idea to choose the necessary one here.
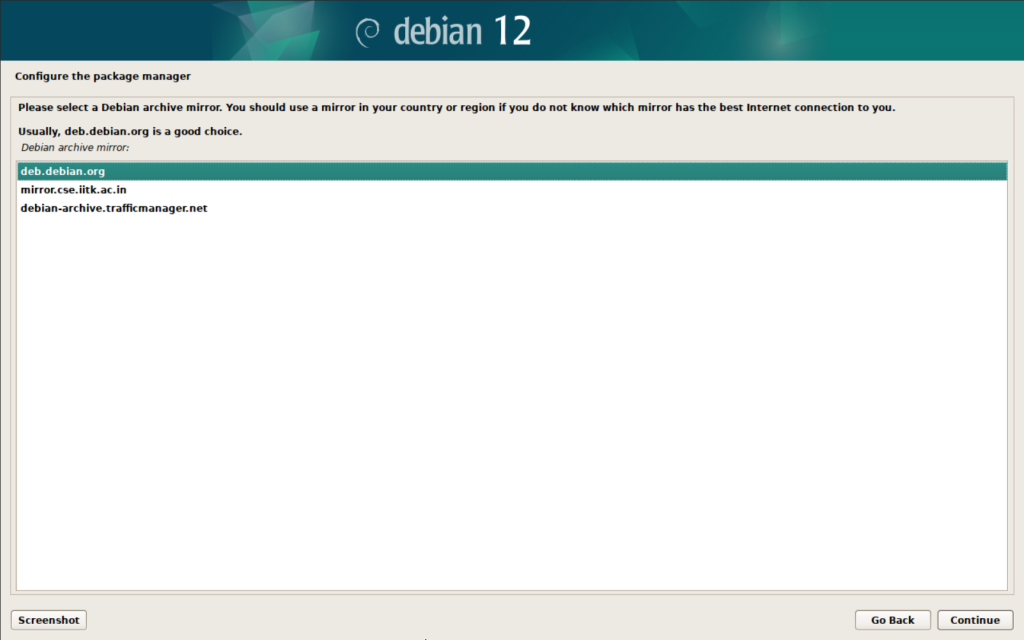
Once you have selected server location, you have to choose the package manager site. If you are trying to install an older version of the operating system, you can choose the 3rd option the archive one, else, the current one usually works the best.
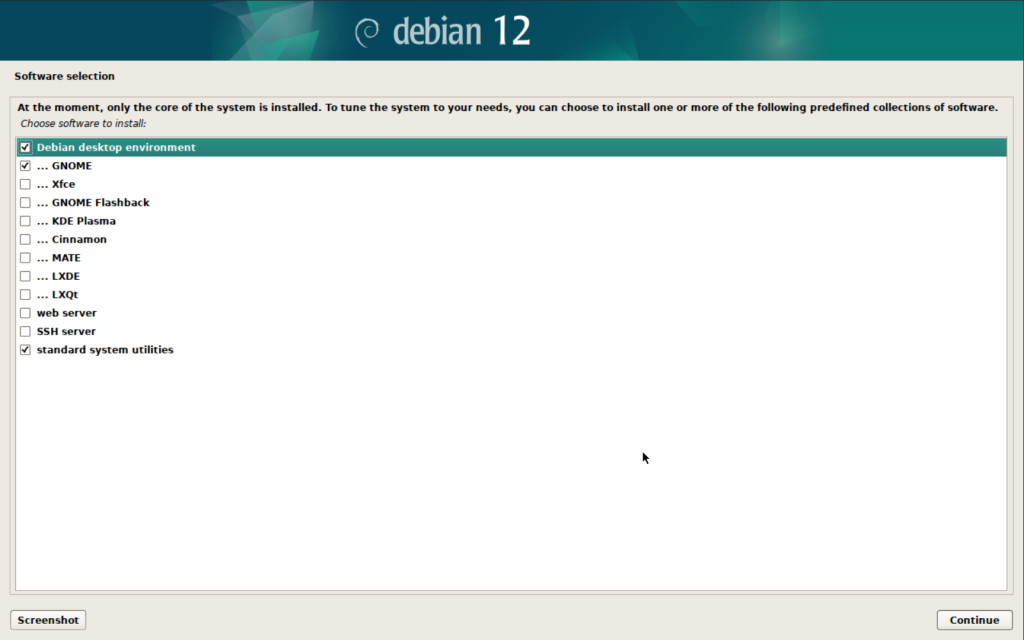
GUI VS Server: This is the most important screen for the installtion, as you have to decide how you will be using the system here. For a normal user, we recommend using a desktop environment along with SSH server and standard system utilities, but if you plan to use it as a server for self hosting you might want to skip the Desktop environment completely. I have multiple installation of the operating system as a server for self hosting purpose and just one system with the desktop environment for development and remote debugging purposes. After this you will get another screen showing the selections installation.
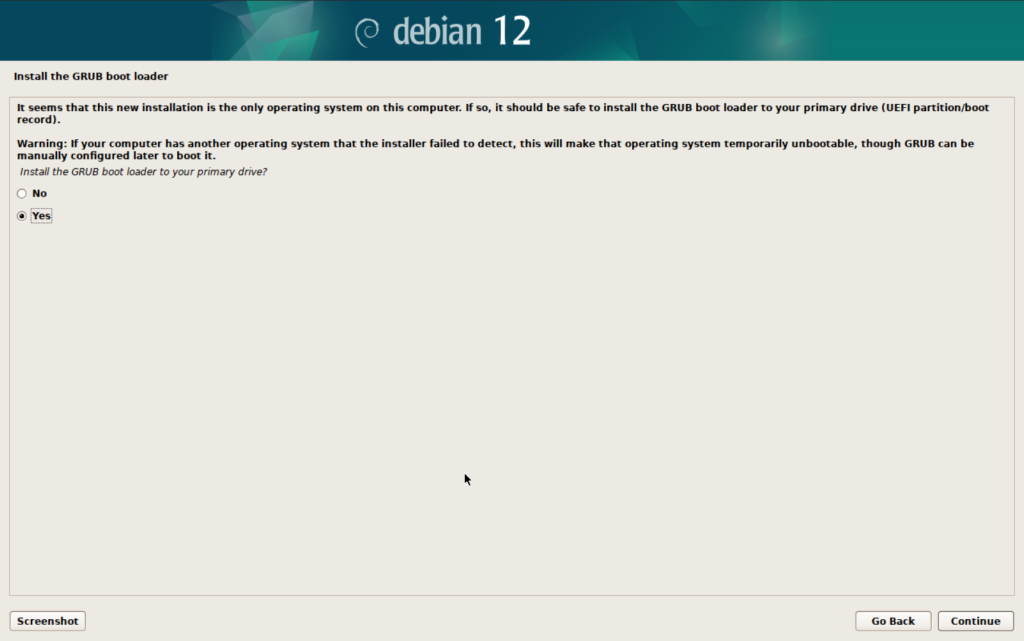
Last thing to figure out is if you have any side operating system installed or want ot install, if you don’t just click yes and move on. If you have another operating system installed and want it to be the primary operating system that loads during the booting process, say no.
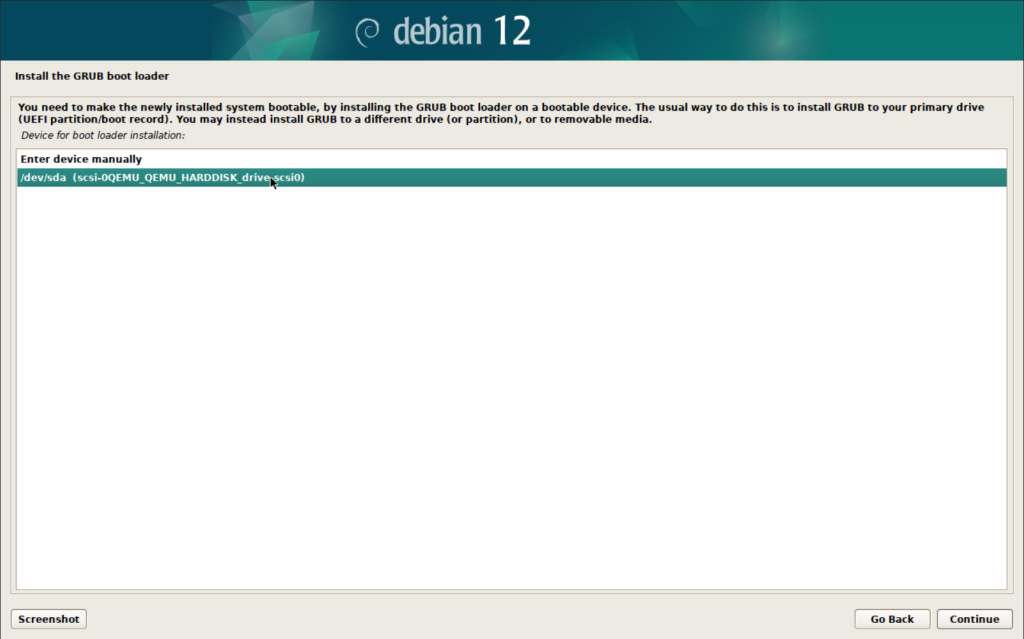
Again, select the primary device that your operating system looks at while booting to find the operating system which should be same as where you have decided to install the operating system to install GRUB on. You might not get this screen if you have chosen no at the previous one.
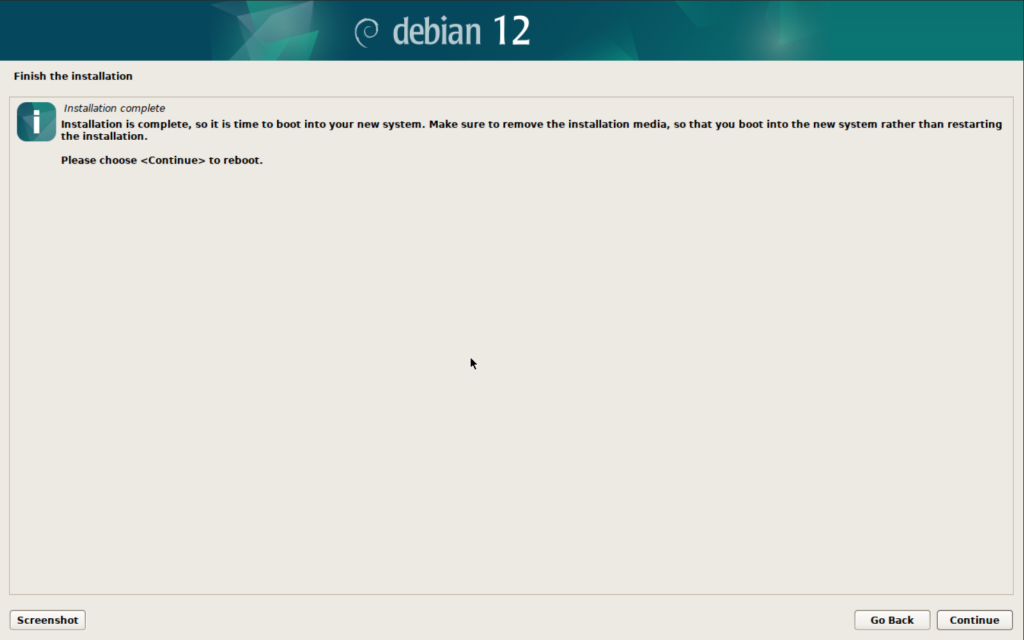
Once everythign is done, make sure to remove the installation media and reboot the system. You should be greeted with Debian Welcome Screen.
Configuration
If you have used the net installer ISO, your repository references should be already set and you should be running on the latest version of the operating system. But if not, follow along the steps to fix repository references so you can easily update the operating system. You can search for a terminal application installed on the system, or SSH into the system as per your convenience and enter the following statement sources.list as follows:
nano /etc/apt/sources.listcomment out the first line, if it’s a reference to the ISO file you have installed with and make sure you have the reference stated on the official Debian source list here. Once this has been updated you can check if you have the latest updates installed on your system by entering the following command.
apt-get update -y && apt-get dist-upgrade -yNow you are completely ready to use the system. Make sure you keep on updating the system periodically so you have the latest security updates installed.