Portainer is one of the most loved tools by the self-hosting community, as it allows you to easily manage Docker, Swarm, Kubernetes, and ACI environments. Not only that, it has an open source, community edition as well as an enterprise edition which provides professional support with some additional features to the Portainer interface.
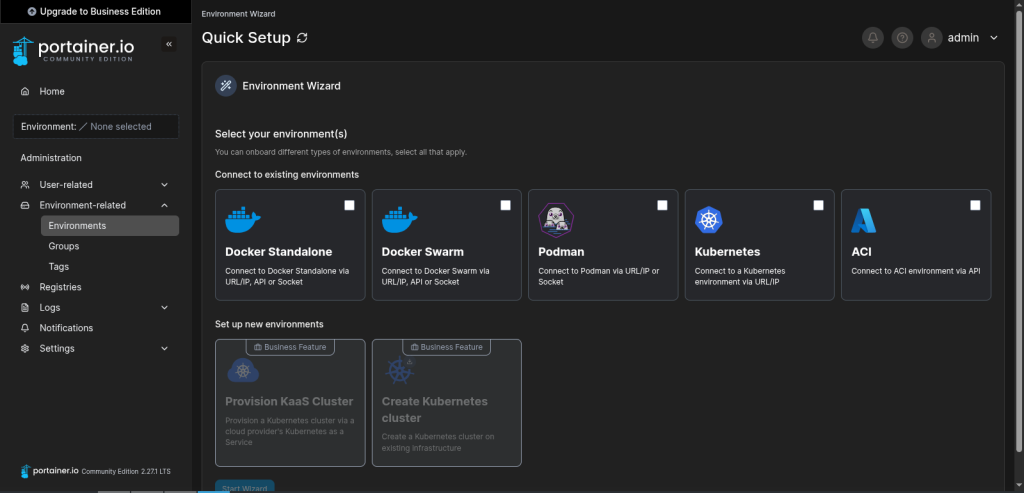
The Portainer application is divided into 2 different parts, one is the complete interface with the socket integration, while the other is just an agent that allows access to the server from a different Portainer interface. This makes it possible to manage multiple environments from a single Portainer installation. You can connect to multiple different hosting services as shown in the following screenshot.
Installation
Portainer installation is straightforward once you have got Docker installed and set up, which is one of the reasons why the self-hosting community loves this application. All you need to do is create a volume for Portainer using the following command:
docker volume create portainer_dataOnce you have created the volume, it’s time to instruct Docker to download, install, and get Portainer running. You can do it using the following command:
docker run -d -p 8000:8000 -p 9443:9443 --name portainer --restart=always -v /var/run/docker.sock:/var/run/docker.sock -v portainer_data:/data portainer/portainer-ce:ltsThe above command will automatically download and install the LTS version of Portainer. If you want to use the latest version, you just need to update the last keyword from :lts to :latest. Once installation is done, you can go to https://localhost:9443 or https://<device_ip>:9443 to complete the initial setup of Portainer.
Updating
Updating Portainer is also easy; all you need to do is redeploy the application. You can start with the following command to stop and remove the current instance:
docker stop portainerdocker rm portainerOnce done, you can pull the required image using the following command. In the following command, it says :lts but you can do :latest as well.
docker pull portainer/portainer-ce:ltsRerun the docker image once again using the following command. It’s the same as above while installing the Docker.
docker run -d -p 8000:8000 -p 9443:9443 --name=portainer --restart=always -v /var/run/docker.sock:/var/run/docker.sock -v portainer_data:/data portainer/portainer-ce:ltsUsage
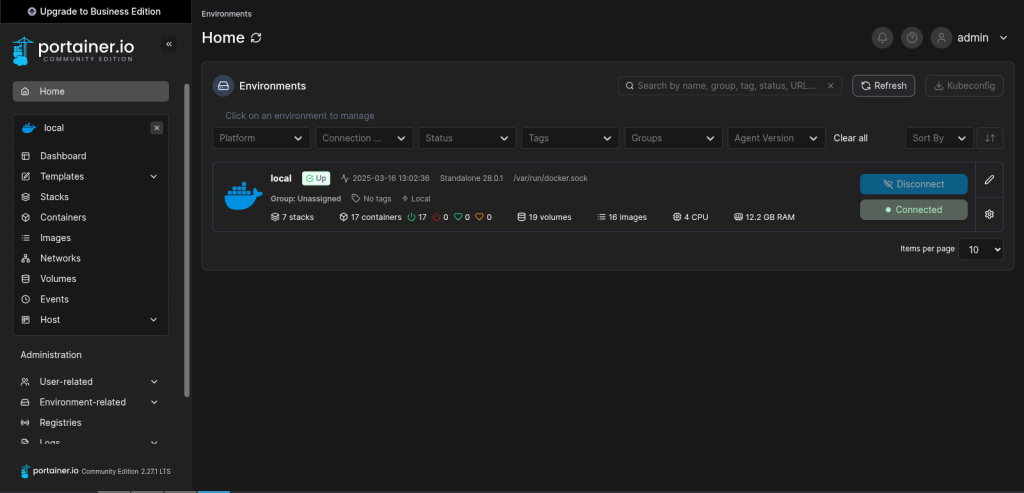
Portainer is also really easy to use. Once logged in, you can select the environment from the list provided and start working on it. Creating containers or stacks is as easy as possible, allowing you multiple options to create a Docker image to pull to various Docker registries.
You can connect to multiple environments using the left-hand menu and with Environment-related tab.
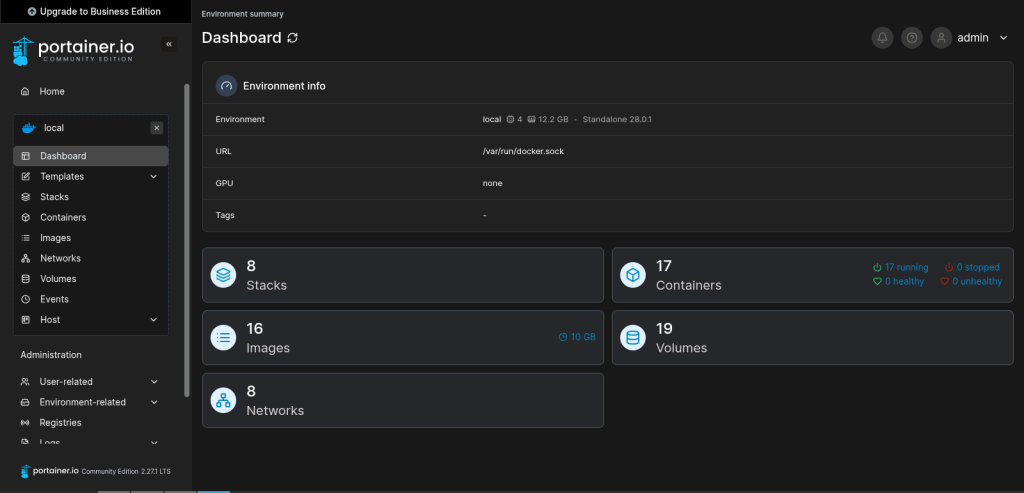
Within the local docker environment, you can see all the important stuff on the dashboard. It will show you stacks, individual containers, Images, and total space taken by the images, volumes, and Networks in that docker instance.
In the stacks session, you can add a new stack by just copy-pasting the docker-compose in the space provided, you can also select different sources for the like repository or create a custom template. It also allows you to add environment variables there or to select a .env file required for the stack.
It also allows you to create Kubernetes clusters and allows you to manage all of them from a single instance here along with load balancing for the clusters.
Pros:
Has built-in support for Kubernetes.
Can handle multiple types of environments with a single installation.
The application has matured for a long time.
Community support is easily available.
Cons:
Doesn’t allow auto-updating/notification for a new image in a stack in the Community edition
Doesn’t have direct terminal access.
Logs can only be viewed on a per-container basis, not as per stack.
Uninstalling
To uninstall Portainer from your docker instance you just need to fire the following 3 commands and all the details regarding your Portainer instance will be deleted. First one helps you stop portainer.
docker stop portainerThen you need to remove the Portainer container using the following:
docker rm portainerLast, delete the portainer_data volume so you delete all the data and records created by the Portainer instance after installation.
docker volume rm portainer_dataConclusion
Portainer is a great way to manage your hosting environments on a virtually owned or home server. It also helps you with Kubernetes functionalities and Docker resource management if required. This makes Portainer an all-in-one hosting manager for your self-hosted applications.